If you have been following along, you know that I installed and dialed in the front Maximum Motorsports suspension on my 1993 Mustang GT. So, it was finally time to move to the rear and give the attention it desperately deserved. The goal here is simple: plant the power, eliminate the slop, and build a tuned suspension from front to back that actually works with the car instead of fighting it. That means everything back there is getting upgraded.
Over the years, this car had accumulated a mixed bag of parts — some good, some questionable, and a few that I’m pretty sure were installed with a “that’ll work” phase of ownership; and after 15 years of owning this car, it was time to reset and do it right. For this round, I’m going with Maximum Motorsports Heavy-Duty Adjustable Lower Control Arms (P/N MMRLCA-2; $469.97) paired with a set of their 375-440-pound High-Rate Rear Coil Springs and isolator bushings (P/N 42TA5; $277.97) that are match-rated to the front coil-over springs.

These will be paired with a set of Koni Sport Single-Adjustable Shocks (P/N 384828; $186.85), which are perfect to maintain ride quality, along with an Eibach Anti-Roll Sway Bar (P/N 3510.312; $269.00) for assisting with roll. And lastly, this is the “missing link” of the Fox rear suspension, a Maximum Motorsports Panhard Bar Kit (P/N MMPBA; $529.97), that’ll really tighten things up!
And if you’re wondering about the upper control arms, you’ll notice they’re staying put. That’s intentional. Maximum Motorsports recommends retaining factory-style rubber bushings and control arms for the uppers to prevent binding, and since mine were freshly installed and good, there’s no reason to replace them.
Sometimes the smartest upgrade is knowing what not to change — especially when “upgrading” could actually make components respond worse. Ask me how I know . . . or you can ask Chuck Schwynoch, CEO and owner of Maximum Motorsports, as I did.
“The first thing to understand about the stock Fox Mustang rear suspension is that Ford designed it with manufacturing cost as the primary priority—not performance. Improving relies on these two key upgrades: the lower control arms and a Panhard bar,” Schwynoch explained. “Maximum Motorsports’ lower control arms are engineered to eliminate fore-aft deflection while still allowing the necessary articulation of the suspension. The result is improved traction and more predictable handling. While the Panhard bar keeps the chassis properly centered over the rear axle, eliminating the factory rear-steer tendency. It also lowers the rear roll center significantly, which — when everything else is equal — translates to increased rear cornering grip!”
Well… That’s enough for me! So let’s get to it.
Time For Teardown
The disassembly phase was a reminder of just how many iterations this car has been through. The rear suspension was a snapshot of different stages of ownership, and none of it was helping anymore. I started by pulling out the shocks, unbolting the sway bar, and lowering the rear axle enough to work the coil springs out. This was pretty straightforward — until it wasn’t.


Before going any further, the exhaust tailpipes had to come out. (Note: Some exhaust systems may have proper clearance, and it’s recommended to test fit the Panhard mounting bracket first, before removing the exhaust.) Starting at the H-pipe, I disconnected the mufflers, worked through the hangers, and unbolted everything still tied into the chassis. From there, it was a careful process of working both tailpipes out of the car without completely losing patience. Once removed, I cut and separated sections of the system and cleaned up the welds, setting things up for a much more flexible reinstallation later.
With the exhaust out of the way, I moved on to removing the lower control arms, unbolting the sway bar, and finally clearing space for the new components to go in.
Laying The Foundation
Installing the new lower control arms started with mounting the Panhard bar axle bracket, which replaces the driver-side factory shock mount bracket. This is where things get a little nuanced. Ford’s tolerances over the years aren’t exactly precise. “Close enough” was clearly doing a lot of heavy lifting back in the day, so test-fitting the hardware is critical. In my case, a slight elongating adjustment to the mounting holes ensured everything lined up cleanly without binding.
Once that was sorted, the control arms were assembled with polyurethane bushings, generously greased, and pressed into place before installation. With everything bolted in and torqued down, the foundation of the new setup took shape. Since I’m running new rubber bushings in the upper arms, there was no need to disturb them, but it’s worth noting that if you’re not, this is the point where you’d want to address that to avoid unwanted binding in the rear suspension.


From there, my attention shifted to the Panhard Bar Kit, which is arguably one of the most transformative upgrades in this entire setup. Installing the kit requires drilling into the frame rails and precision matters, because once you start drilling, there’s no “undo” button. This process begins by mocking up the complete assembly by C-clamping it to the frame and using a jack to cycle the axle through its range of motion while checking for clearance.
Once everything looked good, with the upper bracket assembly clamped into its final position, I needed to mark the drilling locations with a center punch. I then removed the assembly, and starting on the passenger side (focusing on one side at a time), I drilled the holes in stages, stepping up to the final size to keep everything clean and accurate. Next, the supplied frame-rail insert required trimming to match the exact depth of the rails.


This is another small reminder that no two of these cars are exactly alike. I did this task by measuring the frame depth with a dial caliper and marking that length on the insert. So with the insert cut and in place, I reinstalled the bracket assembly and drilled through both sides completely, and loosely bolted it in. I then repeated this complete process on the opposite side. Before everything was finally torqued down, I used the provided shims where necessary to eliminate any gaps. But before installing the lower radius bar, I needed to reinstall and fit the exhaust tailpipes.
Making It Fit
Reinstalling the tailpipes around the axle, control arms, and new Panhard mount was, without question, the most time-consuming part of the entire project — and easily the most patience-testing. At one point, I was convinced the exhaust didn’t even belong to this car anymore. Because I split the system earlier, I was able to work each section back into place individually, carefully routing everything around the components.


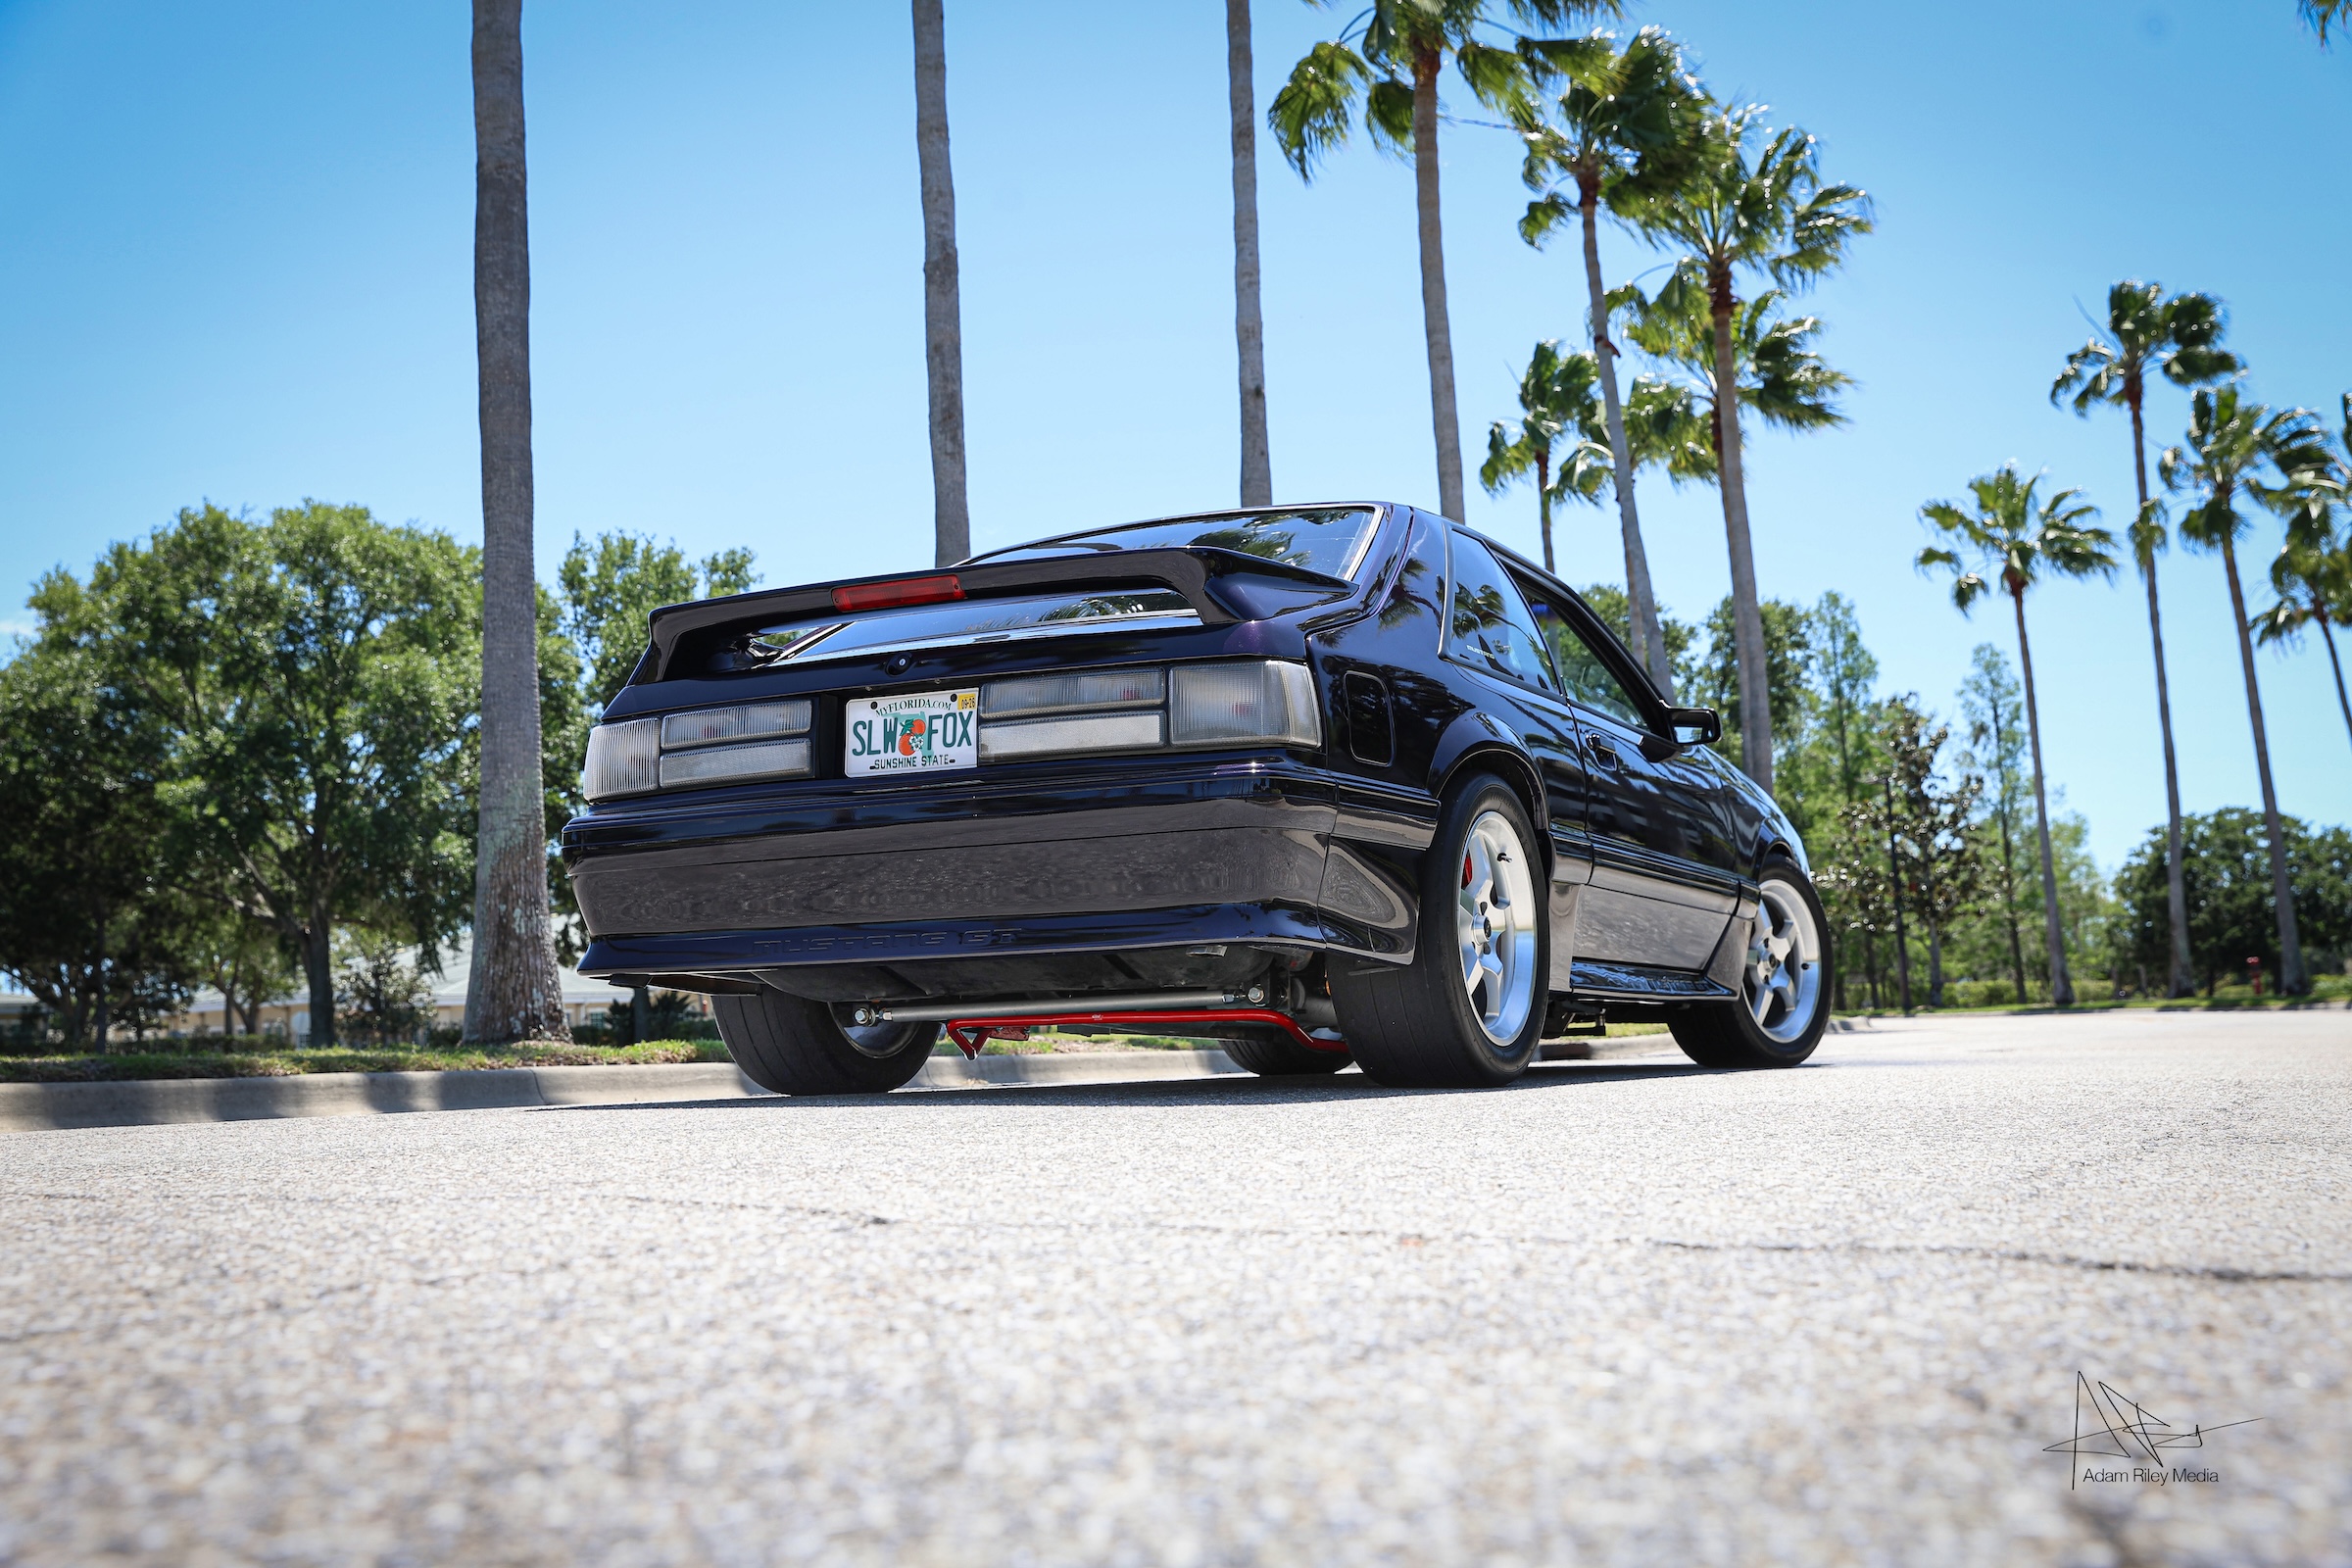
What helps is using 2.5-inch coupler band clamps; though even with these, I still spent hours making small, incremental adjustments, tightening and re-tightening with my impact until everything cleared properly, sat evenly, and exited the rear of the car perfectly aligned. It’s tedious work with minimal clearance, but it makes all the difference when it’s done right. So with the exhaust finally set in, I installed the Panhard radius bar and torqued everything into place, officially locking in the rear geometry.
Springs, Dampers & Bars
From here, the rest of the install felt almost easy. The new coil springs quickly went in with their isolators, and note to make sure to seat the coil rotation the same on both sides for a consistent ride height. After that, the single-adjustable Koni Sport shocks were bolted into place without any drama. And though the Eibach sway bar was the final piece, and it didn’t go in without a fight — I had to use a ratchet strap to help “persuade” it into position, which is a polite way of saying it wasn’t going in willingly.


With everything installed and double-checked, it was time to bring the car back down to the ground and dial in the ride height. The adjustability built into the lower Maximum Motorsports control arms makes this process quite simple, allowing for fine-tuning without pulling anything back apart. In fact, you can do this while the car is on the ground with a 1/2-inch ratchet. So after a few rounds of adjustments and measuring fender-to-ground height, I took a quick test drive to settle everything in and to make sure it was exactly where it needed to be.

So this project wraps up the full front and rear suspension overhaul on this Fox Mustang, and I can say this is easily one of the most rewarding upgrades I’ve done to the car. Of course, projects like this always come with a few challenges — and at least one moment where you consider setting the whole thing on fire — but that’s part of the process. And when it all comes together like this, it’s more than worth it. Next, we’ll be hitting the streets and attending some upcoming events.


After years of mismatched components and worn-out hardware, the rear suspension was long overdue for a proper reset. This time, it’s not a mix-and-match situation — it’s a system. The Maximum Motorsports adjustable lower control arms, paired with matched-rate 375- to 440-pound springs and supporting components, are engineered to work together — not fight each other. The result is a cohesive setup built for control, consistency, and actually putting power down the way this car should have from the start.

You might also like
ProCharger Boosts The OBS Bronco And F-150 Beyond 650 Horsepower
OBS 1988-1996 Bronco and F-150 builds are hotter than ever. New ProCharger supercharger kits boost these rides with serious power.

