

With this availability of modern cars comes a broader availability of aftermarket manufacturer support, unseen at anytime previously. Easily these days we can turn our tame Mustangs from mere 420 horsepower showroom queens, to beasts capable of nearly 600 rwhp over the course of a weekend in many cases, all while maintaining that daily drivability that makes the cars easy to live with.
It’s not until we’ve upped the horsepower ante in many cases that we realize the need to increase our ability to rein in the beast when the need arises, especially if the need comes quickly at high speed. We’re talking of course about brakes. What many people fail to realize is the second part of the horsepower and performance equation and that is stopping power. Just as it takes exponentially more power to go increasingly faster at the drag strip, autocross or flying mile, it takes exponentially more energy to stop your steed the faster you go. This is why we turned to Baer Brakes to equip our “Wild E. Coyote” 2011 Mustang with some serious stopping power, with the goal of braking the 100 foot stopping distance marker.
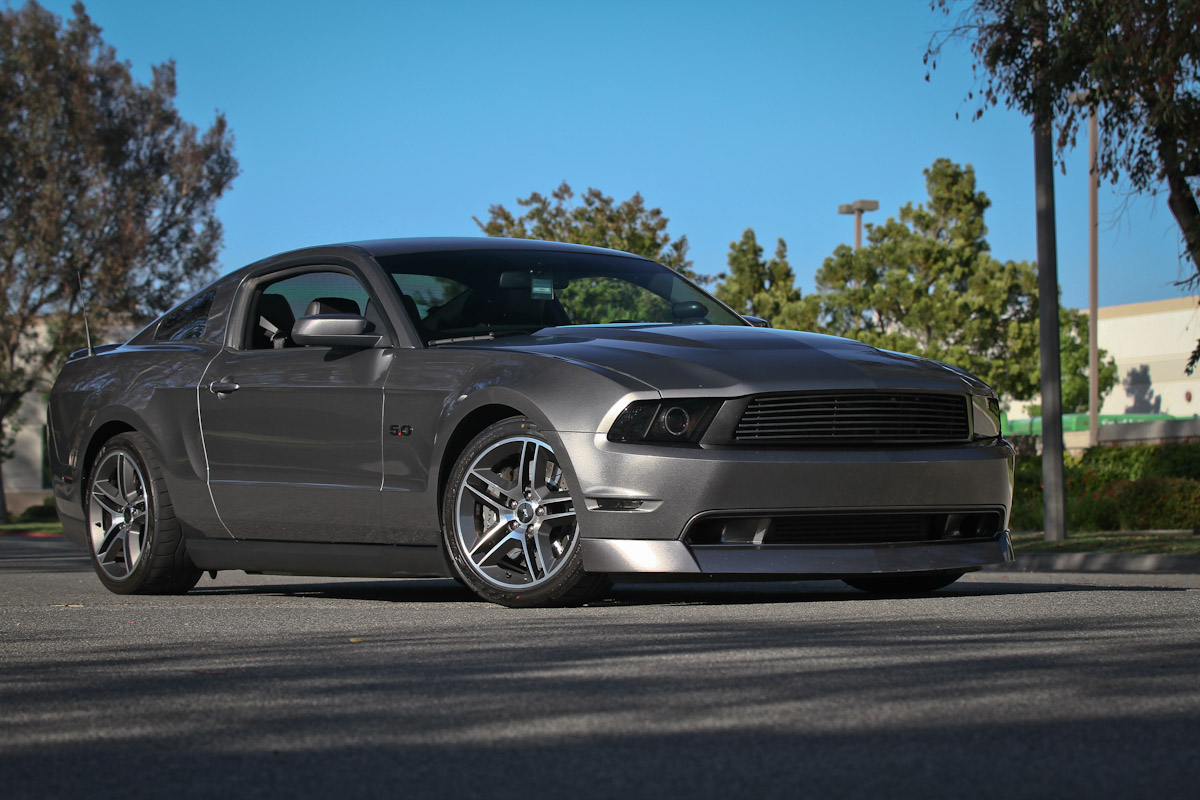
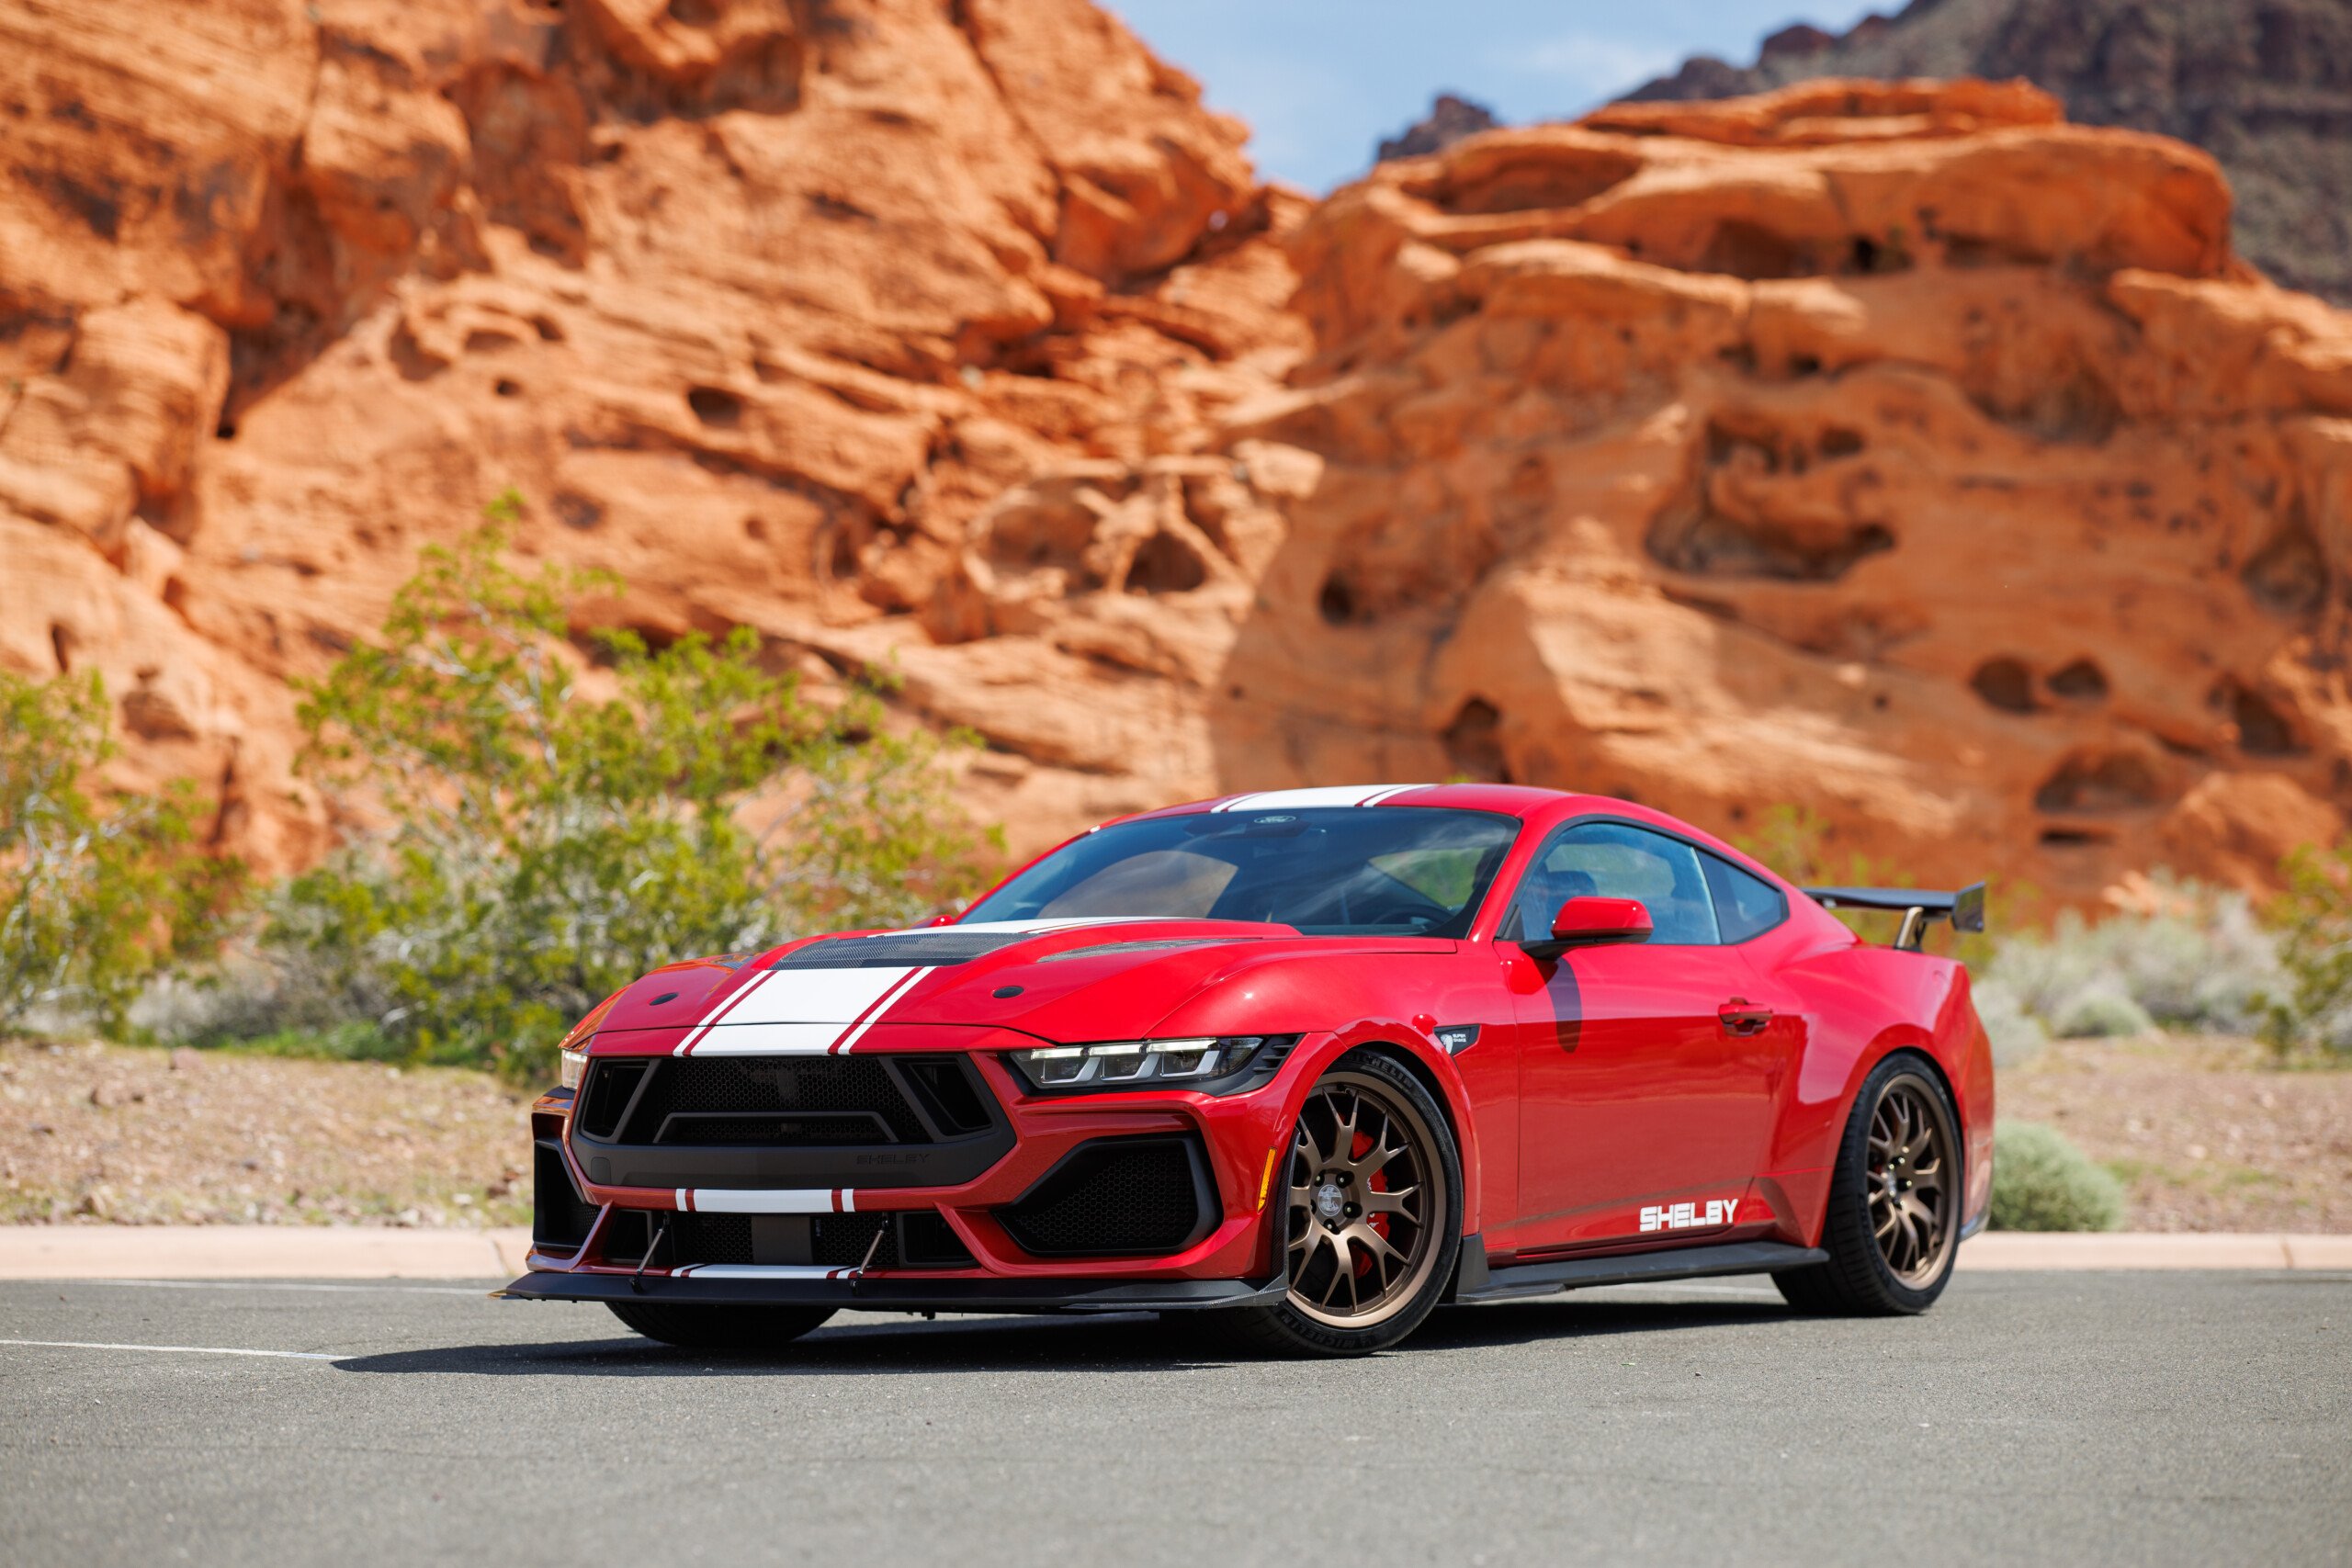
We turned to Baer Brakes to make sure our Vortech’d 2011 5.0 GT has the proper stopping power.
Pulling in the Reins
With over forty years of experience in designing brake systems for vehicles, Baer offers a large number of choices for late model Mustangs. Their expertise and knowledge in the braking world means they not only offer systems that are easy to bolt on, but they offer packages for everything from cars that are daily driven to systems for cars that exclusively see the track only.
The Systems
Design
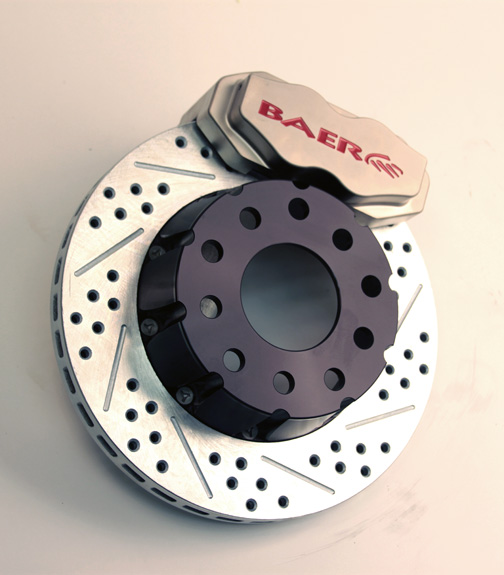
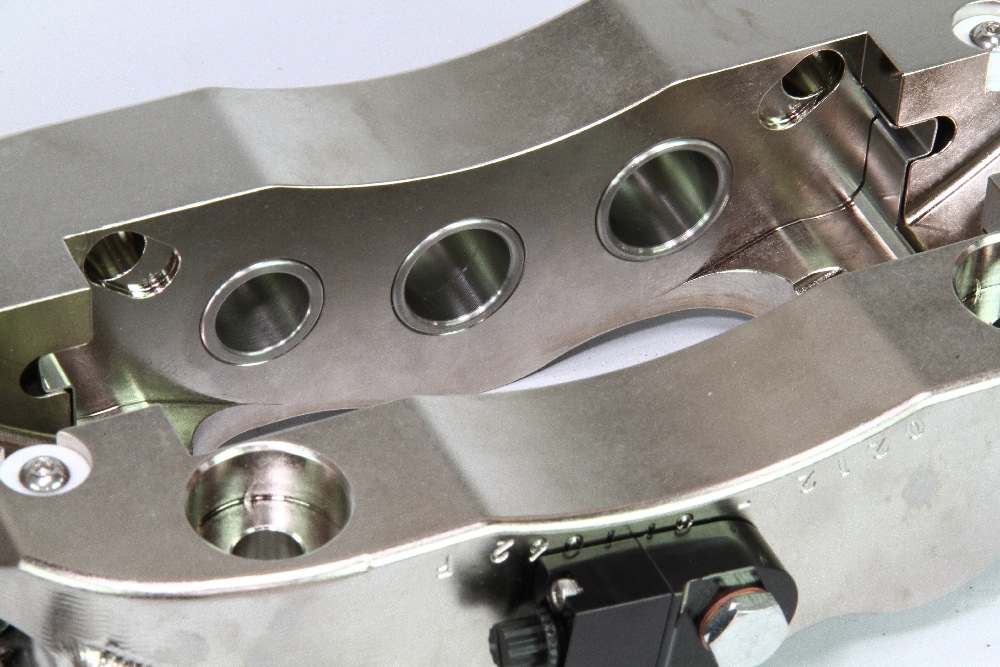
Baer builds all of their brake calipers in house, they don’t source the parts from various suppliers and then assemble them as a kit and slap their name on it. All calipers are built from either extruded or forged aluminum and then are CNC machined in house. All multi-piston calipers (4 or 6 piston) use staggered piston diameter designs to prevent brake pad tapering, they also feature deep stainless steel pistons.
The deep part of the piston design ensures that even if you run the pads all the way to the backing material or even lose a pad all together you’ll never have a piston leave the bore, this important safety feature prevents you from having a massive brake fluid leak which would result in a loss of brake line pressure, fluid and pedal. The fact that the pistons are made from stainless steel also helps to dissipate heat better and protect the brake fluid. The heavier stainless material reduces the thermal transfer to the fluid more effectively than aluminum. Again this is a really nice and unique safety feature of all Baer systems.
Other key features that make Baer systems better include using banjo fittings to make all of the connections from the line to the caliper, this is a much safer design for the high pressure demands of a performance braking system. All rotors have curved internal veins. These veins help direct airflow through the rotor allowing the brakes to stay cooler. The curved vein design also allows for more veins to be cast into each rotor, this increases each rotors cooling ability.
SS4+
Baer’s SS4+ four piston brake kit
The SS4+ is Baer’s smallest brake offering. This system uses four piston calipers and a two piece rotor. The rotor has an aluminum hat. This system is a nice upgrade over stock offering better performance than a stock system. Baer says this system is ideal for daily drivers, old Muscle cars or customers wanting to retain or use a 15-inch wheel. This system is also a good upgrade for cars that see the occasional trip to the track.
Baer also has a an SS4+ Deep Stage brake system available for late model Mustangs. Designed to stop today’s heavier performance cars while still fitting behind at 15” wheel. This means that drag racers, especially those in radial or other full weight type classes can still run a 15” wheel package but have adequate braking to stop their car at the end of the track.
Pro+
This is Baer’s most popular and best selling system. For the Mustang the Pro+ system offers 14-inch rotors and six piston calipers for front and rear. The Pro+ system is ideal for cars from daily drivers all the way up to those under extreme auto cross or road course/track duty.
We had the idea that if we could build these in quantity and offer a race level caliper to the road going market we should bring the price down.

Extreme+
This is Baer’s top of the line system and features many industry firsts. Baer says this system is the only one in the industry designed specifically for street cars to offer a forged monoblock caliper design (it has dust and weather seals that make it streetable). What this means is that the caliper is CNC machined from a single piece of 2618 aluminum (many high end engine pistons are also made from 2618). This makes for a rigid caliper, however since these are forged and not cast calipers their also very lightweight. Using 2618 aluminum also allows for better performance under extreme heat.

We chose an Extreme+ 14inch system for the front and a Pro+ 14-inch system for the rear. Baer’s monoblock brake kits utilize a new caliper bracket that encompasses a new E-brake shoe setup.
This type of technology was previously only available for very high end and expensive race cars. Elam explained to us that the Extreme+ line was designed with the pro touring and high performance crowd in mind. Up until it’s introduction a system like this for a racecar would typically cost $2800-$3500 per caliper! “We had the idea that if we could build these in quantity and offer a race level caliper to the road going market we should bring the price down,” explained Elam.
The Extreme+ system also utilizes six piston calipers for both front and rear. “Some have said a six piston is too much to put on the rear of a car, but when you spec the piston sizes in the calipers, which we can do because these are all built in Arizona [at Baer’s facility] these work great with traditional firewall mounted master cylinders,” said Elam. “Our rear calipers even feature staggered pistons, just like the fronts to help minimize pad taper.”
The Extreme+ system is suited for anything from daily drivers to full on track cars and will work under the most extreme and demanding circumstances. For late model Mustangs they offer a two piece 14-inch rotor and six piston calipers.
Installation
If you’re capable with hand tools you can install one of these brake upgrades on a weekend, assuming you have a friend to help you with the bleeding process. Familiarity with replacing brake parts will make the installation that much easier for you. Of course you’ll want to be sure to follow all of Baer’s instructions, including the bedding in/break in processes for your new brakes. Close adherence to these instructions is necessary to ensure your brakes perform properly.
Checking Fitment
It is crucial that you check for proper fitment prior to ordering your brake system. Nothing is more frustrating than spending your money on parts and your day off swinging wrenches with anticipation of trying out your newly acquired pieces only to find that you can’t drive the car yet because of a fitment issue.
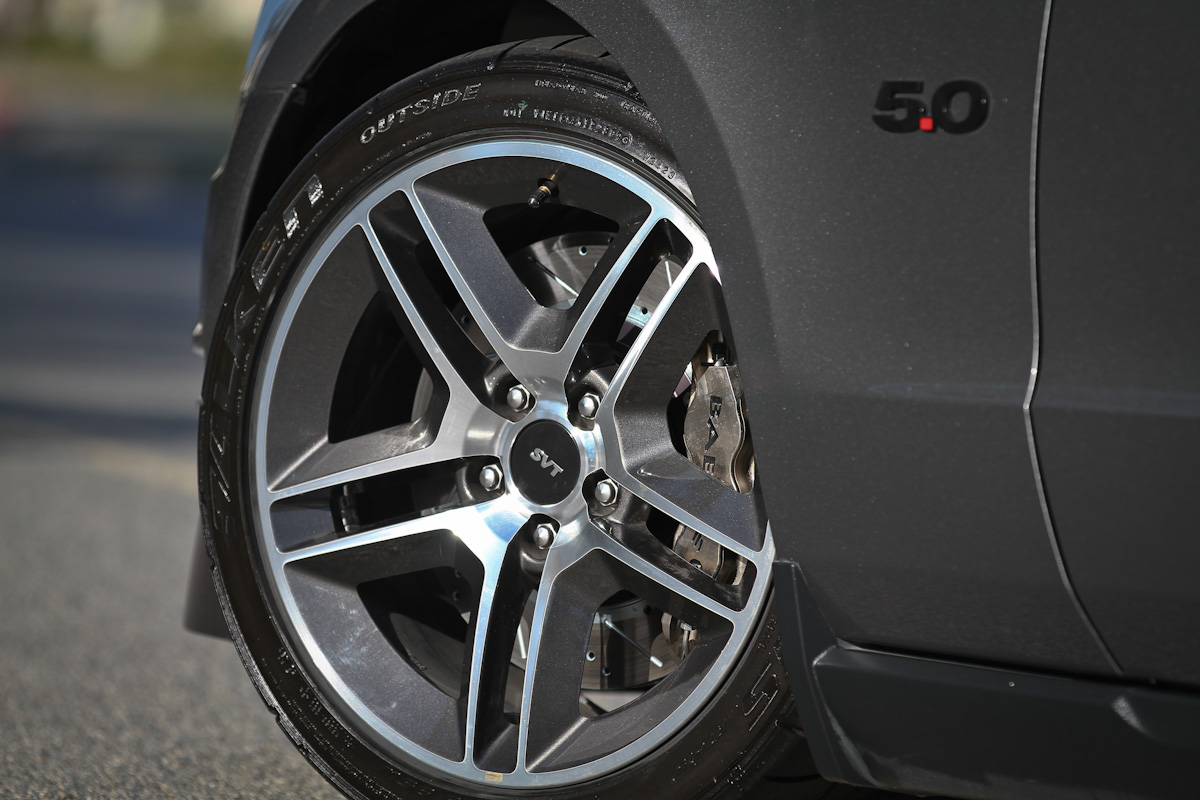
This brake system required us to upgrade from the stock wheels to these 18″x9.5″ SVT wheels. It is crucial to check the Baer template before you order or install.
To aid you in ordering, Baer offers templates for every system that are downloadable from their web site. You need to select the proper template for the system you’re ordering and print it or Baer can also mail one to you. Verify the measurement scale on the template to ensure it printed properly, as some printers can print larger or smaller than actual size. Follow the instructions for the template and check fitment for your wheels.
We found that our stock Mustang wheels were in no way going to fit the Extreme+ front brakes, so we slapped on our SVT 18″x9.5″ wheels that we had converted into our road race wheel set. Verifying fitment first will save you time, money and perhaps most importantly frustration.
Front
From an installation standpoint the front brakes are the least complicated of the two systems to install. For our 2011 5.0 we’ll be installing an Extreme+ system part #: 6000279. We ordered this system with a nickel finish to match the exterior of our car.
Left to right: Tear down begins by disconnecting the brake line and installing the supplied vinyl cap to minimize fluid leakage. Then remove the retaining clip that secures the stock rubber hose to the strut. Next remove the caliper and caliper bracket, followed by removing the stock brake rotor. You must now also remove the stock dust shield, it is not reused.
We’ve covered the highlights of this install in the included pictures. Be sure to follow all of Baer’s instructions they’re very detailed and the front installation is a pretty straight forward swap. A few things to mention are first to be sure to clean the face of the hub. This is where the rotor will ride. Any debris, rust or dirt that’s built up here will cause fitment interference, unwanted runout and can adversely affect brake pad and rotor life as well as potentially cause the system not to operate properly. It’s also important to note on the instruction sheet it specifies that we’ll need to utilize the included .250-inch spacer for our radial mount brackets since this is a 14″ rotor system.
Installing the front system from top left: Begin by installing the new rotor, hand tighten a lug nut to secure it in place. Next install and torque the radial mount bracket to 85 ft-lbs. Since this system is 14-inch we are using a .250 spacer supplied with the kit. Now install the caliper and pads, torque the caliper bolts to 75 ft-lbs. Connect the new stainless steel brake line, once completed you will bleed the system. Be sure to wipe off any residue or dirt that might have transferred to the face of the rotor during installation.
Rear
For our rear system we chose to use a Pro+ 14-inch system, part#: 600370. This system was also ordered with nickel finish calipers to match the front brakes. The system features 14-inch two piece rotors and six piston calipers.
The rear installation is a bit more involved than the front but still something that can be completed by most mechanically inclined enthusiasts over a weekend. What makes the rear installation a little more tricky is that it requires removing the rear axles. This is a perfect time though to check the condition of your rear differential components; look for signs like metal debris, burnt fluid, damaged gear teeth or seals. If you’re car has a few miles on it you may want to even replace the axle bearings and seals as these are both notorious for failing on 8.8-inch rearends with age. Also make sure to get a new differential pin retaining bolt. Take extra care when removing this bolt because they are prone to breaking in older or high mileage diffs. The Ford service manual specifically states to replace it once removed.
Rear Tear Down: Left to right; Begin by disconnecting the rear brake lines and removing them from the clip. Drain the rear differential, remove the cover, remove the retaining bolt and pin. Next disconnect the parking brake cable and abs connector, then remove the rear caliper followed by the rotor. Push in on the axle shafts, then remove the c-clips, gently slide out the axles, remove the backing plate and then the caliper hush plate.
The installation of this system is pretty straightforward as well, again stick to the instructions and call the Baer technical hot line if you have any questions. It’s important also to mention that this system converts the parking brake from a caliper style parking brake system to one which utilizes parking brake shoes also known as a Bankisa park brake. This can all be done with hand tools and while it may take you a few more hours to do the rear than the front the pay off in stopping power and looks is going to be incredible.
Install the caliper mounting bracket and parking brake shoe assembly. Be sure to pay attention as the instructions indicate left and right sides. Torque the bracket to 50 ft-lbs. Install the parking brake cable through the bottom, then reinstall the axle shafts and c-clips. Follow this by reinstalling the differential pin and a new retaining bolt. Now on with the rotor then the caliper. Torque the caliper bolts to 85 ft-lbs. Make sure the ABS sensor is in the correct position and install it. Now connect the hose and attach it to the retaining clip. Follow the bleeding instructions for the system.
Finally make sure to clean off your rear differential and cover then reseal with RTV or another OE approved sealer. Refill your differential, we used Royal Purple Max Gear but if you don't you'll need some 75w140 gear oil and friction modifier which can be purchased from your local Ford dealer. Another benefit offered by using MaxGear is the ability to forgo the use of friction modifier (already included in the oil). Royal Purple MaxGear also allows differentials to run cooler and quieter for longer, lubricates better and uses high quality synthetic oils as well as the company’s Synerloc technology which bonds the lubricators to the metal parts for better protection when the parts have sat for a period of time (ie overnight) thus protecting components that have not been fully lubricated yet.
Performance

Fesler did a great job independently testing the results of their Extreme Plus front brake system with only an EradiSpeed rear disc brake upgrade on a stock S197 Mustang.
Of course we had to do our own testing. Our 2011 Mustang features a fairly aggressive suspension and a set of 300 treadwear Mickey Thompson Street Comp 275/40/18 tires on all four corners. (From top left) Our first stop with stone cold brakes resulted in a stopping distance of 110.28 feet from 60 mph. By the third stop the brakes were warmed up enough to stop our Mustang down in 97.52 feet. To put this in perspective, a ZR1 stops in 97 feet with over 5 inches of more rubber than we have on our Mustang. Also, the BOSS 302 stops from 60 mph in 108 feet. Each stop was made within 60 seconds of each other on a less than perfect road.
Once we’d finished the install and bleeding process and had our car buttoned up and ready to run, we followed Baer’s bedding and seasoning process for our new brakes. Instructions for this process are included with all Baer brake systems and are also available on the Baer web site. Typically this involves making a series of controlled stops to heat cycle the new rotors and pads appropriately. This will properly align the molecules within the metal structure of the rotors, remove any oils from the rotor, establish a wear pattern between the pad and rotor, help prevent rotor warpage and ensure maximum pad life.
Driving in regular traffic situations the brakes feel just slightly firmer than stock. When you have to stand on it, for instance when freeway traffic drops from supersonic to a crawl, that’s where you’ll feel the difference on the street and the Baer Systems we chose definitely don’t disappoint, capably reigning in our car quickly, smoothly and safely.
Top left to right; The front brakes stock and Baer Extreme+. Bottom left to right; The stock rear brakes and the Baer Pro+


